


Painting Advice: How to Paint a Living Room
Our painting advice for your living room includes several key steps you will need to take to achieve the best results. We developed a step-by-step guide to ensure your room turns out just the way you want it to if you choose not to hire house painters and instead, Do It Yourself.


Painting Advice1. Choose Your Colors
First, decide what you want your room to feel like: casual, fun, or formal?
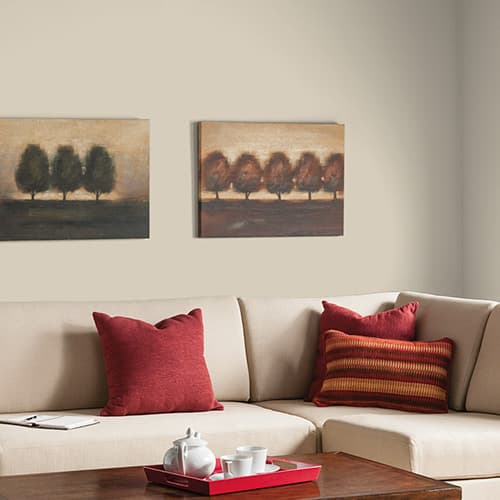
Casual colors are more neutral, such as Desert Dune, Shark and Ghost Writer and fit well with any décor.
Fun colors pop: Think bright hues that bring energy like Berry Picking, Butterfly Bush or Vitamin Sea.
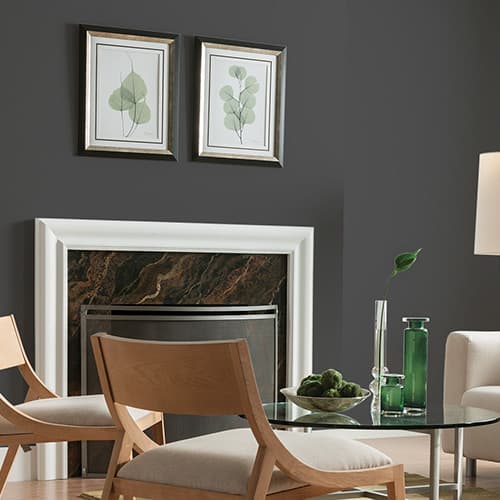
Formal colors lean toward jewel tones: deep reds, blues, or even rich browns, even blacks. Use tones like Brick Dust, Admiralty, and Onyx.
Bright or formal hues are best used as accents alongside neutrals to keep the room from becoming overwhelming.
Painting Advice2. Choose the Paint
We recommend PPG Prominence Interior paint and primer* in one. A Zero VOC** super premium latex developed to provide excellent hide and coverage with an ultra-smooth, resilient finish.
*See back for details.
** Colorants added to this base paint may increase VOC level significantly depending on color choice.
Painting Advice3. Decide on a Sheen
We advice that when painting the living room, you use eggshell and satin sheens.
While flat paint is best for hiding surface imperfections and is easy to touch up, satin sheens offer a nice gloss and are easier to clean.
Eggshell is more durable than flat paint, but not as shiny as satin paint.
Semi-gloss paints are fine for living room trim and window frames, but not the walls. Semi-gloss provide the greatest washability, but the shine enhances wall imperfections like bumps, patches, or unevenness in drywall.
Painting Advice4. Get Your Supplies
Before going to the next step, collect the supplies you'll need to take you from start to finish.
- paint brush
- paint roller
- paint roller tray
- sandpaper
- drop cloths
- painter's tape
- rags
- step ladder(s)

Painting Advice5. Prep The Room
- Remove wall hangings, curtains, and switch and outlet covers.
- Put drop cloths down to protect floors and furniture.
- Use caulk to fill nail holes, then wipe walls clean of dust and dirt.
- Apply painter's tape to straight edges – like over baseboards, and around windows and door frames.
Note: Be sure to remove painter's tape while the paint is still wet, or be prepared to lightly score where the tape meets the wall, to prevent pulling off the new paint.
Painting Advice6. Paint Your Walls
If you'll be painting your ceiling, start there and work your way down. Cut in a 2" paint line using a brush where the ceiling meets the wall, then switch to a roller to cover the main portion of the ceiling.
For the walls, cut in a 2" paint line using a brush where the wall meets the ceiling, and along the baseboards and trim. Then switch to a roller to cover the main portions of the walls.
Apply paint in a "W" or "V" pattern, working the paint in 2 to 3 foot sections. Be sure to always work back into the already painted area to make sure the paint color is even.
If you need to apply more than one coat of paint, make sure to let the paint dry between coats.
Please refer to the Product Label, Technical Data Sheet (TDS) or Safety Data Sheet (SDS) for safety and detailed application instructions.